> ## Documentation Index
> Fetch the complete documentation index at: https://docs.restauric.com/llms.txt
> Use this file to discover all available pages before exploring further.
# Add Tables in a Zone
> Create and assign tables within a zone to organize your restaurant floor and manage dine-in operations efficiently.
This guide helps you add tables inside a specific zone for better table organization and smoother POS operations.
> **Prerequisite**\
> Ensure staff have table management access to configure floor settings.\
> Learn how to set up tables here: [**Assigning Roles & Permissions**](/assigning-user-role-permissions)**.**
>
> Ensure at least one zone is already created in table management.\
> Learn how to create zones here: [Add Zone Guide](/adding-a-zone)
## Add Tables to a Zone
Follow these steps to create tables:
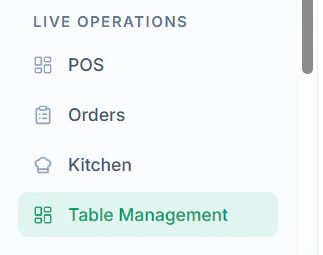
1. Navigate to **Table Management** from the dashboard
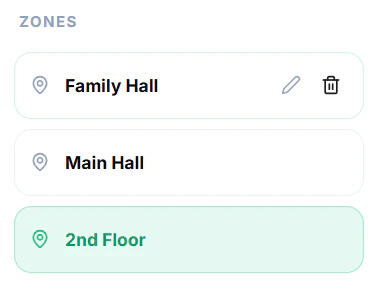
 2. Select a **Zone** where you want to add tables
 3. Click on + **Add Table**
 4. Enter table details:
* **Table Numbering** according to hotel labels
4. Enter table details:
* **Table Numbering** according to hotel labels
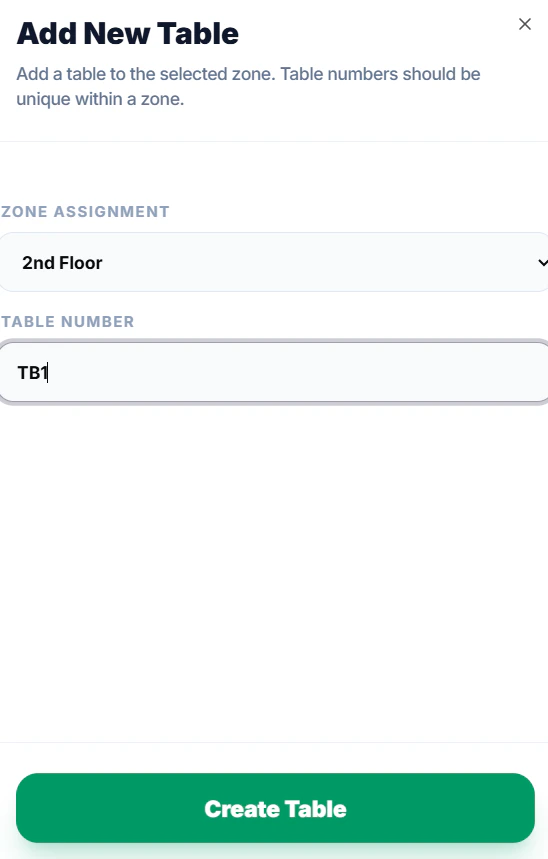 5. Click **Create Table**
## Tips
* Use clear table names or numbers (e.g., T1, T2, Table 5)
5. Click **Create Table**
## Tips
* Use clear table names or numbers (e.g., T1, T2, Table 5)