Prerequisite
Ensure staff have table management access to configure floor settings.
Learn how to assign role and premission here: Assigning Roles & Permissions.
Add New Zone
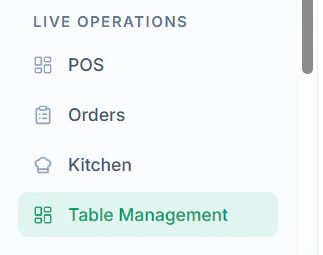
Follow these steps to create a new zone:- Navigate to Table Management from the dashboard
- Click on + Add Zone

- Enter zone details:
- Zone Name
- Alternative Language Naming (optional)

- Click Create Zone
Why Use Zones?
- Organize tables by area (floor, section, or type)
- Improve order handling and table selection in POS
- Help staff quickly identify seating areas
Tips
- Keep zone names simple and clear
- Use zones based on actual restaurant layout
- Avoid creating too many zones to reduce confusion